Wednesday, May 31, 2006
Tuesday, May 30, 2006
Testing!
 Making sure the car passes the 20 degree incline test


Tom running along side the car to make sure he drive train is in working order
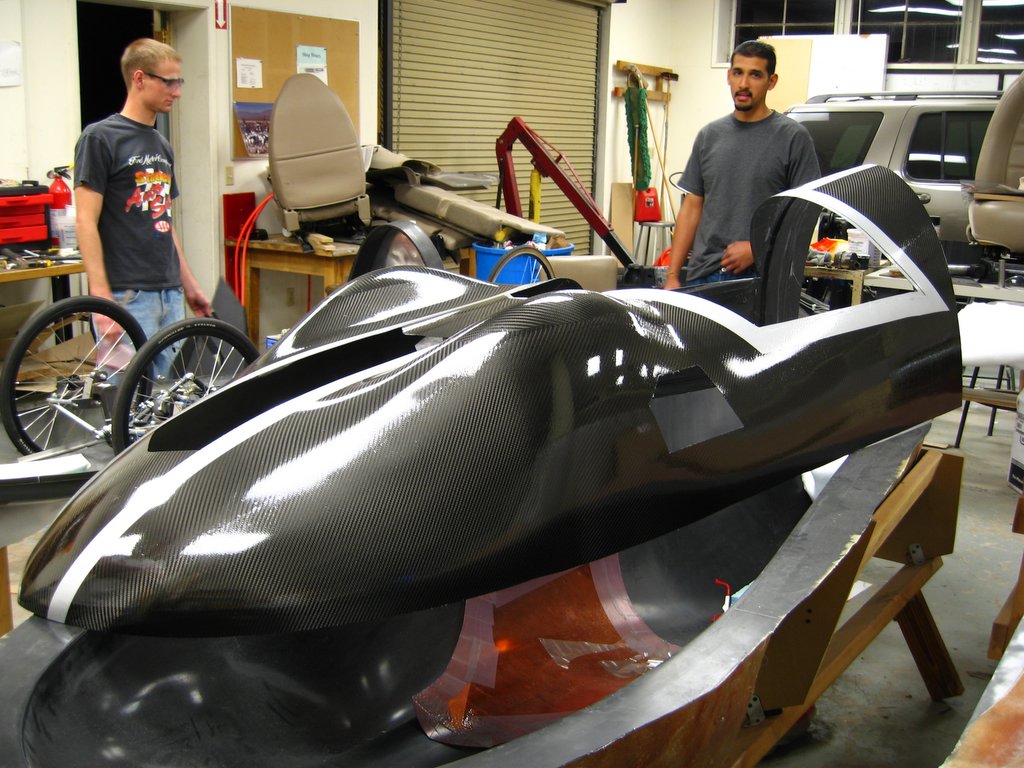
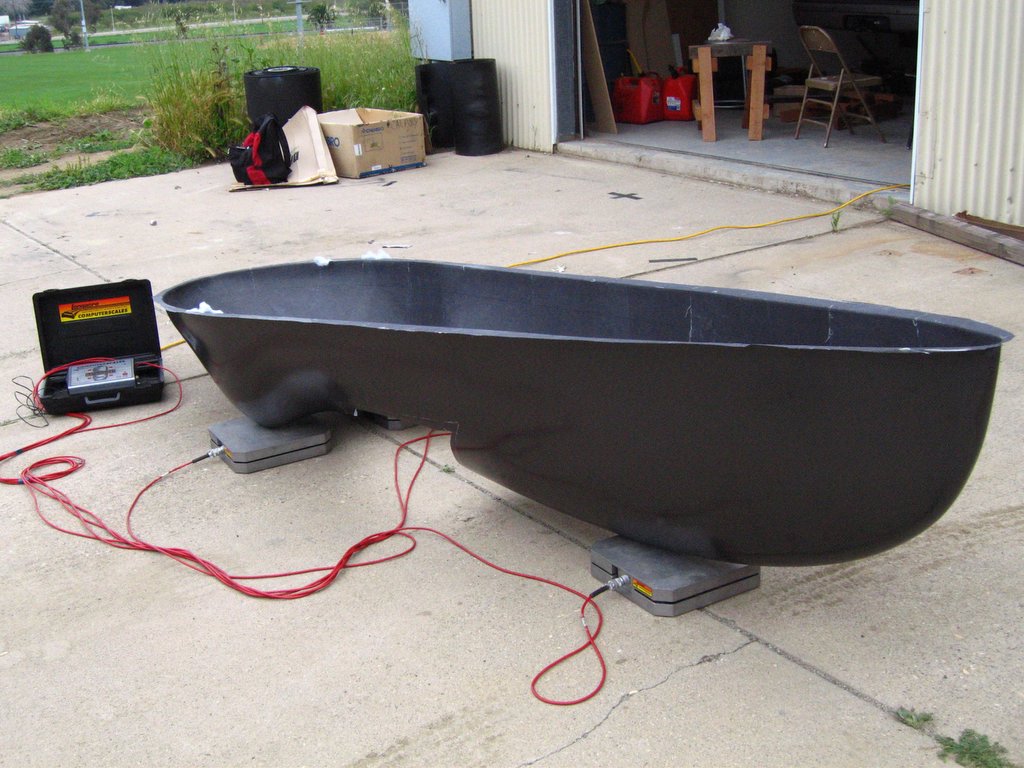
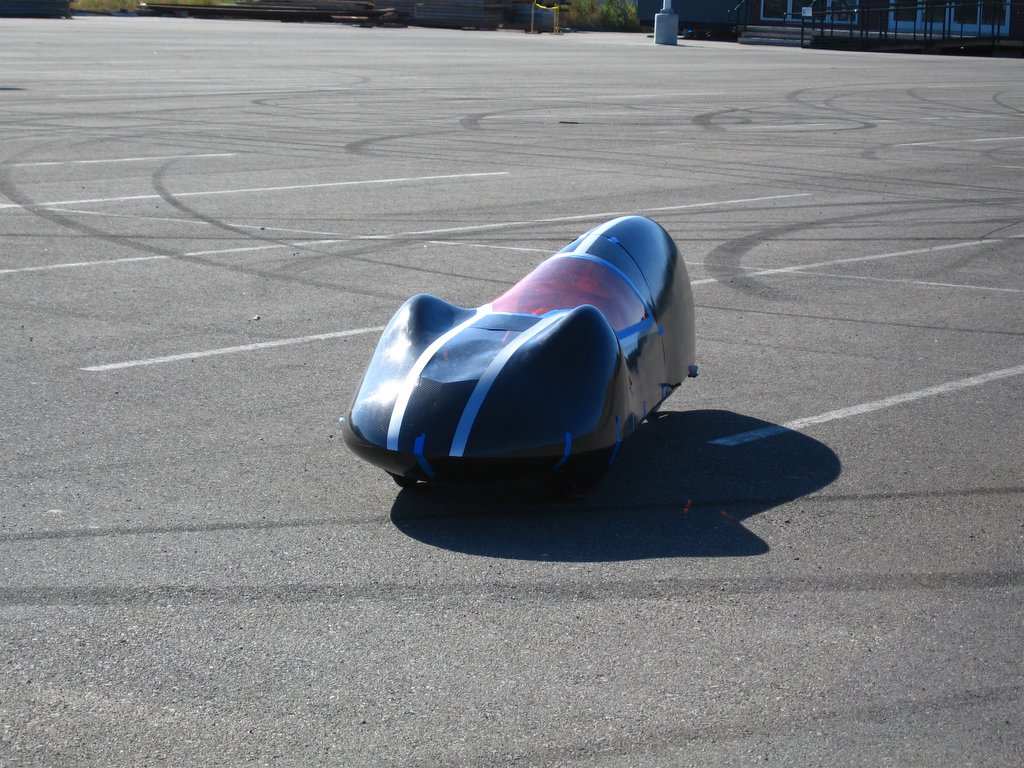 The car all together
This week: tear down and polish everything! Then leave for Michigan on Sunday!

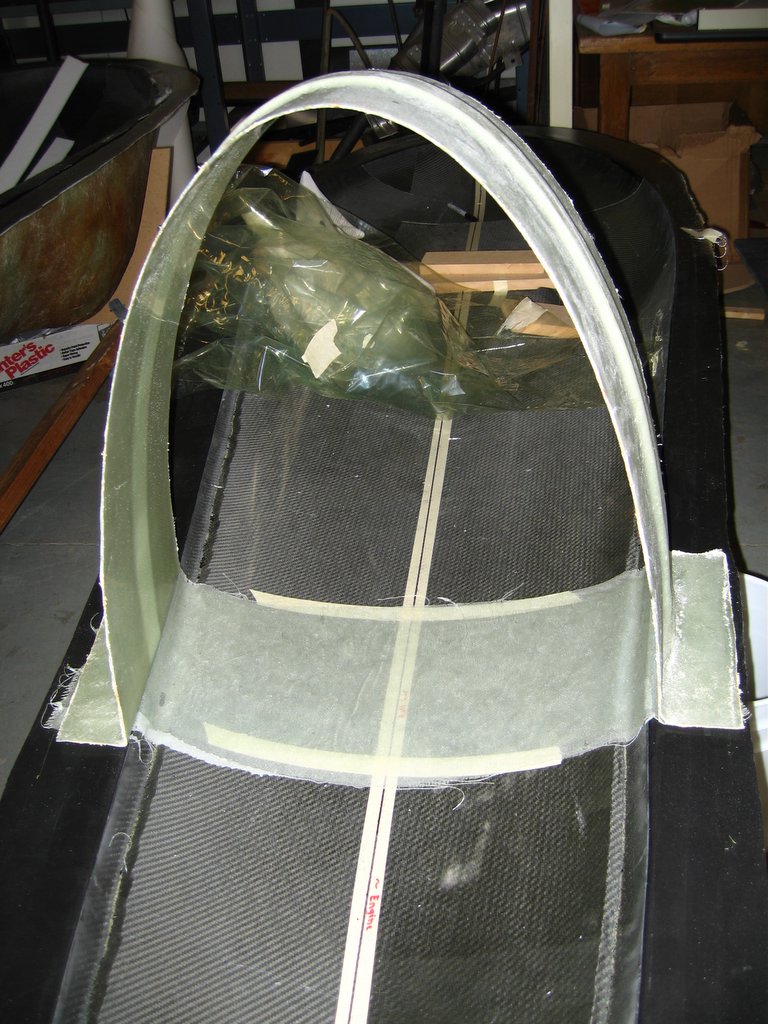
The Fairing
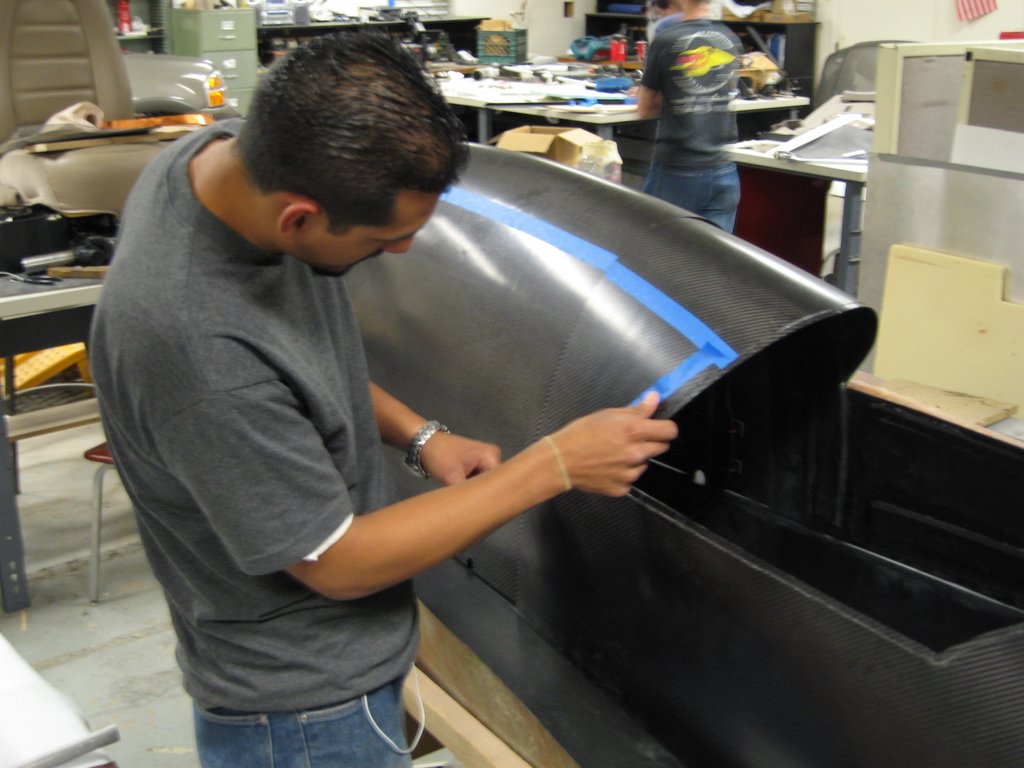
Estevan taping off where he wants the stripes
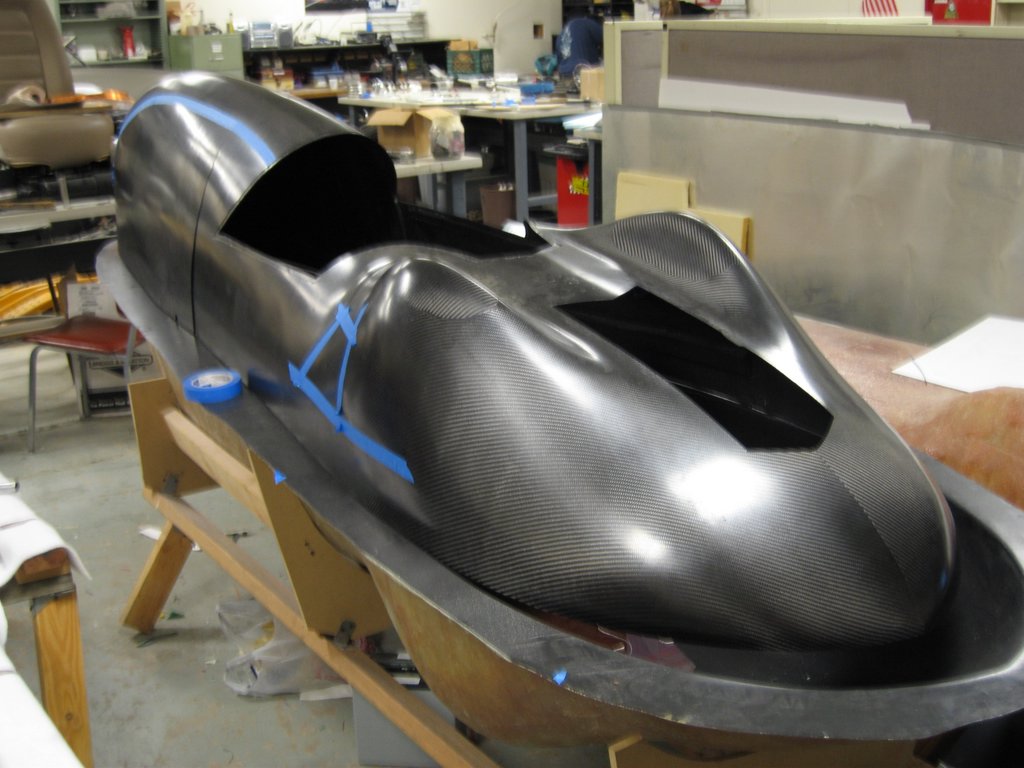
The fairing with the tape marks for the side windows
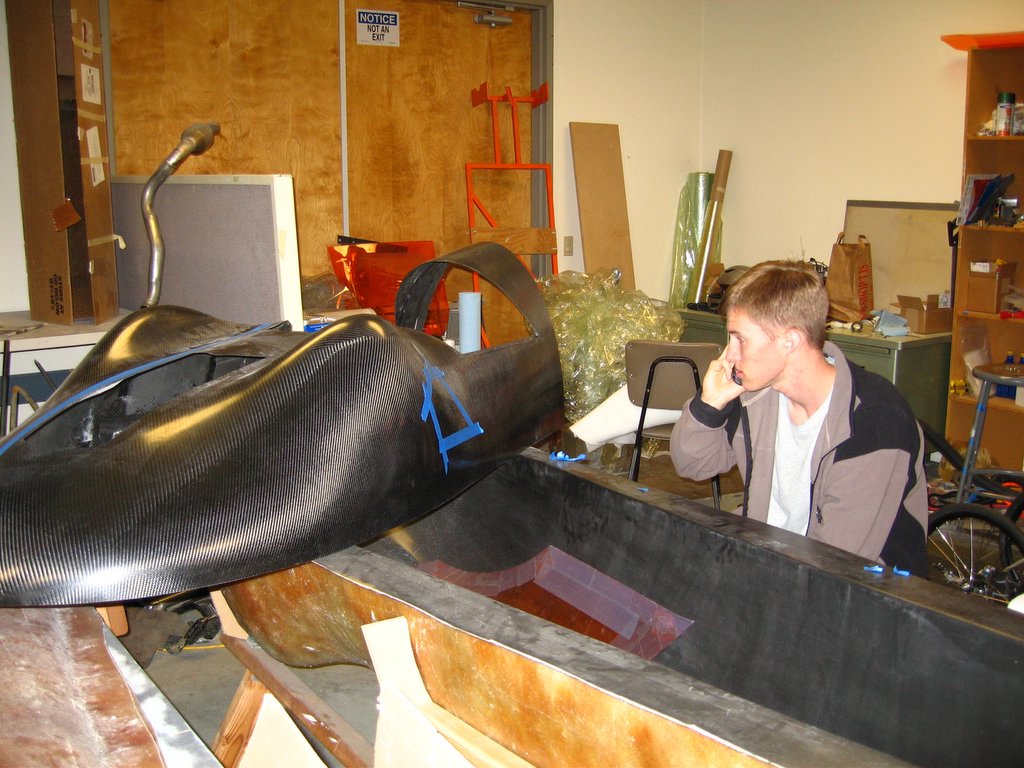
David chattin on the phone while looking at the side view windows
The fairing after being painted and sprayed with clear coat by Estevan.
All we need now is some polish and wax!
Monday, May 22, 2006
5-22-06 Progress
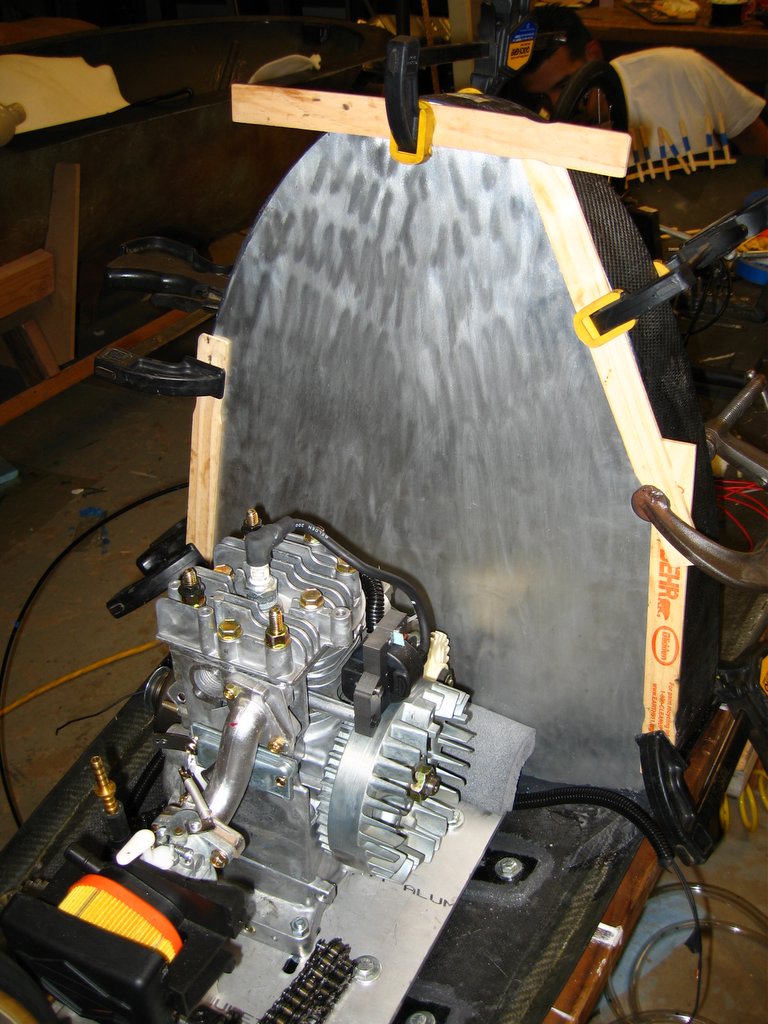
The back of the firewall after it being bonded to the roll bar

The front of the firewall. OOOO, shiny!

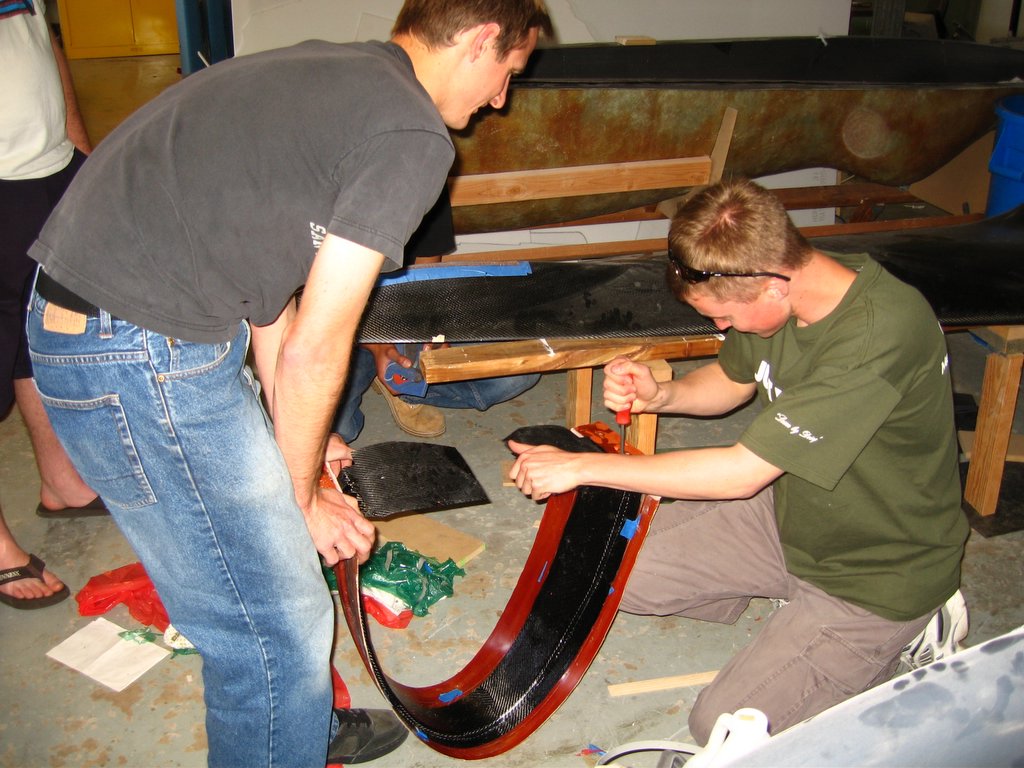
Estevan & David bonding the front lips
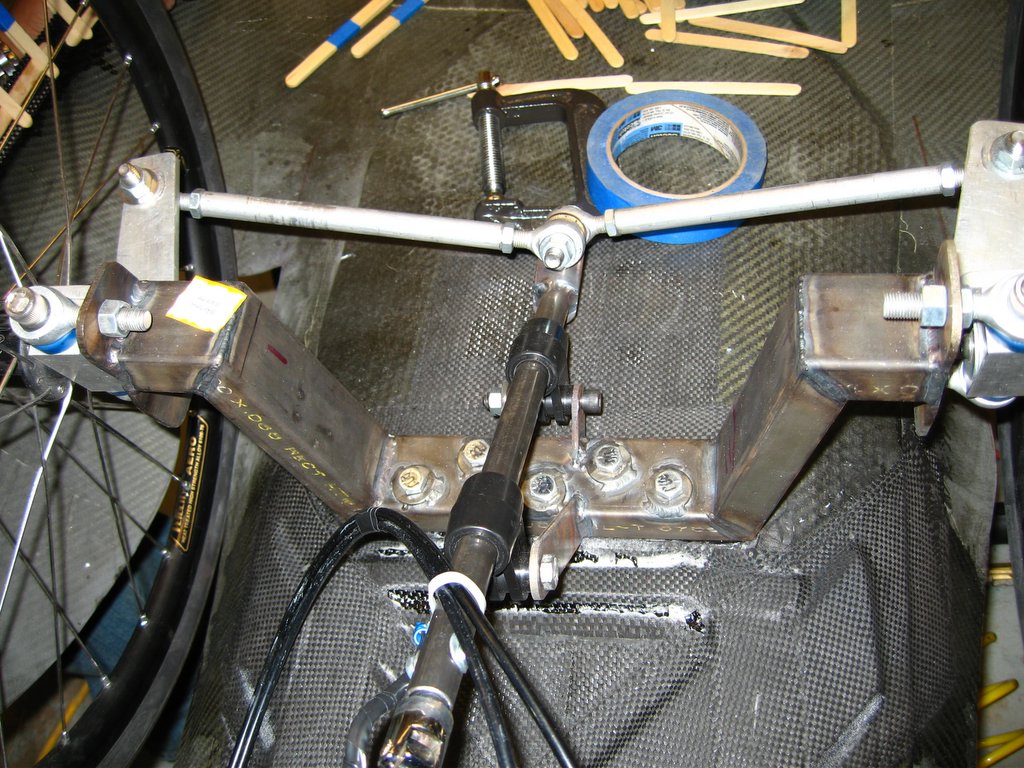
Our stearing geometry
Sunday, May 21, 2006
Test Fitting
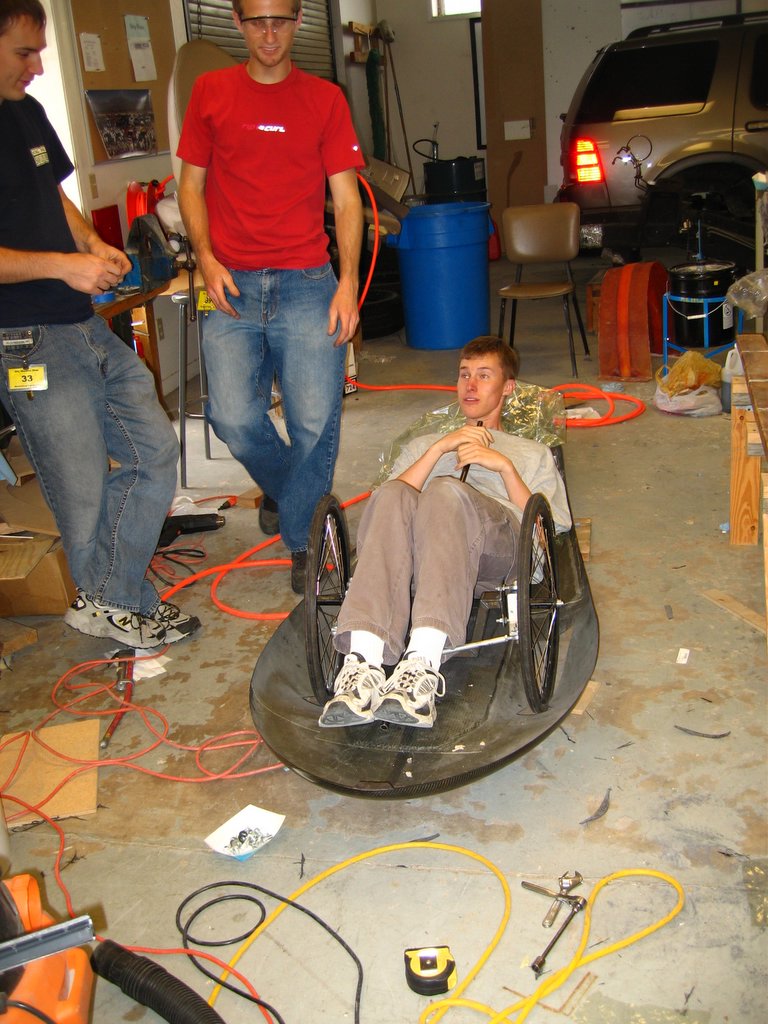
Making sure David fits in the car
Fitting the engine, jackshaft & rear wheel in the back of the car
We only have 2 weeks until we leave to Michigan! We should be done pretty soon. I'll keep posting as the testing and building continues!
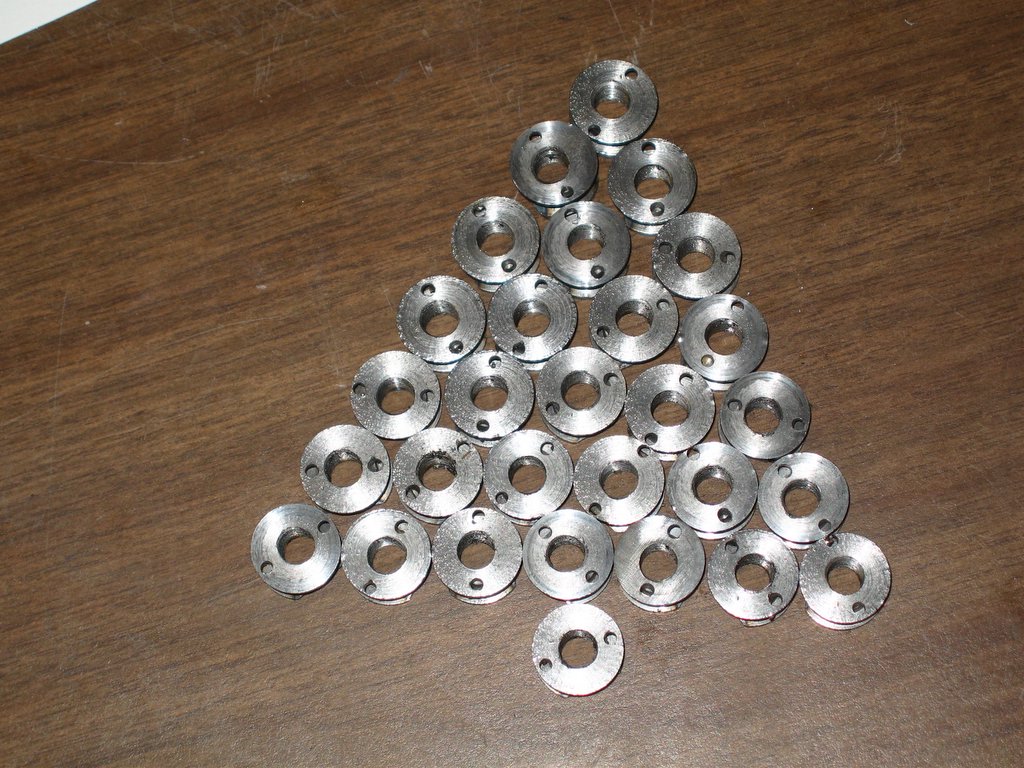
Potting the Inserts

Estevan & Jason drilling the holes and making sure the bolts fit through holes.
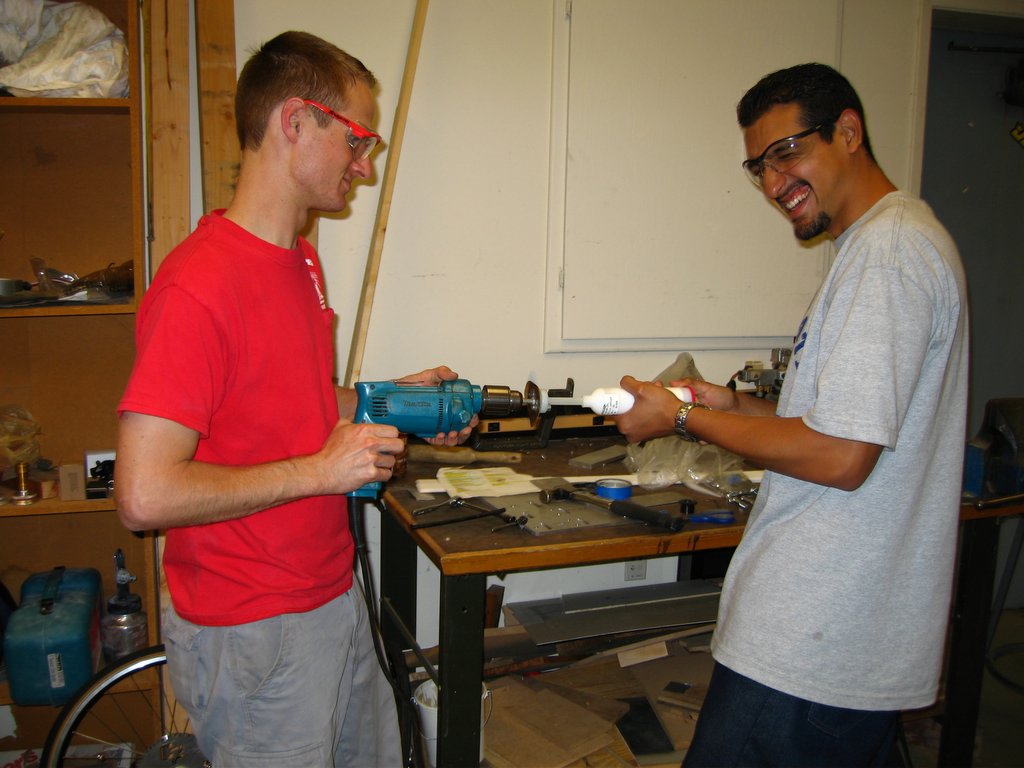
Josh & Estevan mixing the potting compound

The finished inserts for the front wheels
Insert Testing
Metal inserts were made thanks to Trace, an IME student. These inserts are in the shape of a thread spool and the purpose of the inserts is to give us a place to bolt down our parts in the car.

The inserts potted in our test pieces of carbon fiber

David working the tensile tester down in the composites lab
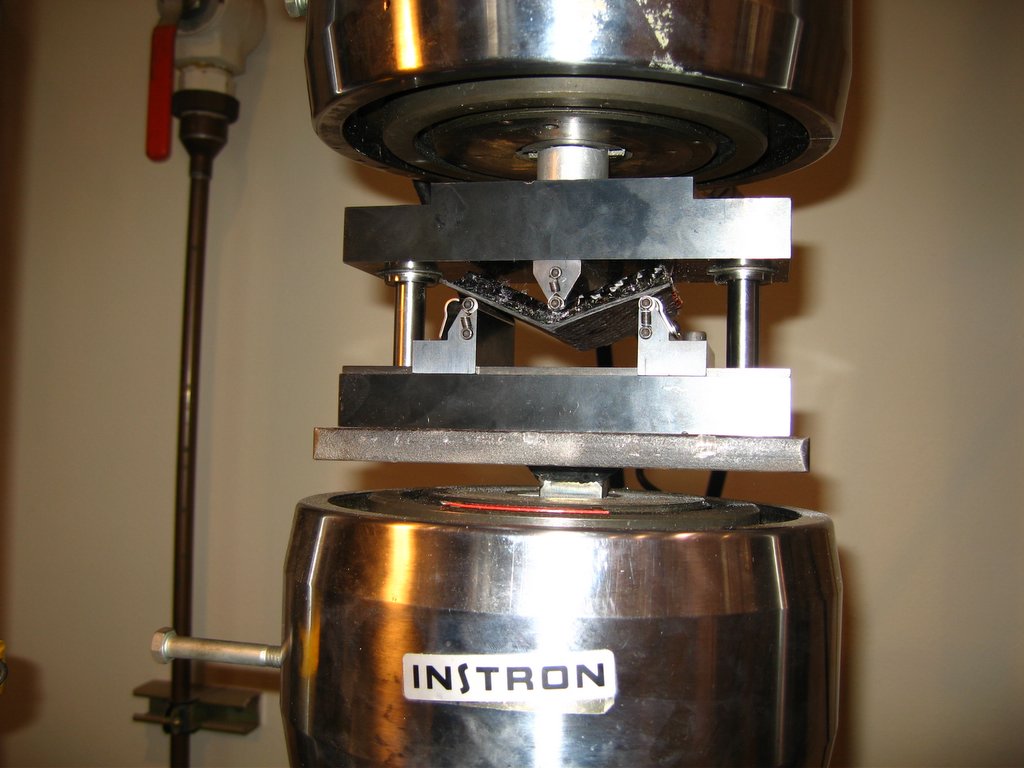
A test piece failing in bending
End results:
Pull Out test - 135 lbs per insert
Shear Test - 700 lbs per insert
Sunday, May 07, 2006
Roll Bar 2
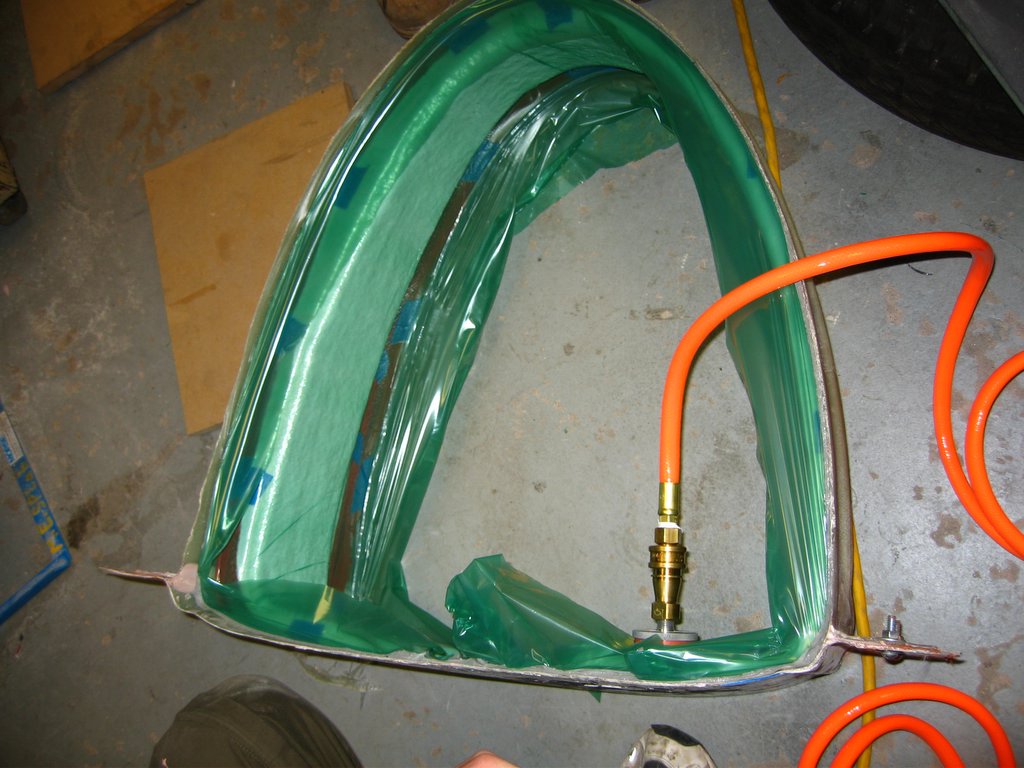
Roll Bar Vacuum bagged
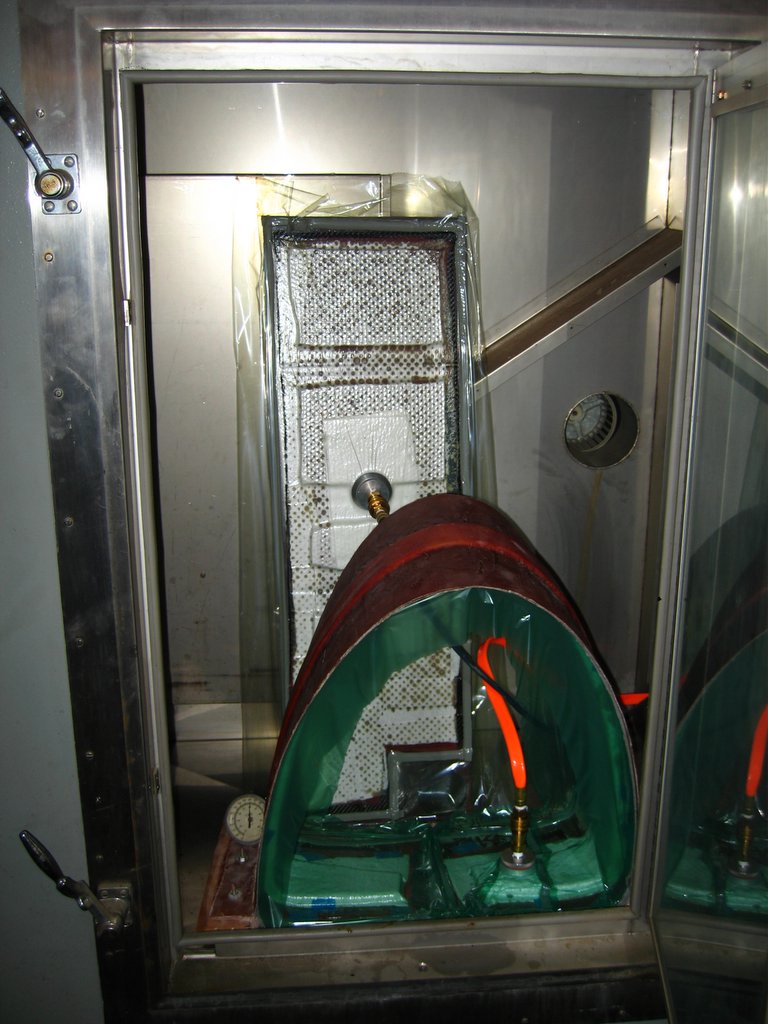
Pulling the roll bar and test pieces from the oven
David trying to pull the roll bar from the mold

Test fitting the roll bar in the car
Making the Roll Bar

Making the top portion of the mold
Making the bottom portion of the mold
Test fitting the two

Bondoing and RTVing the two halves together
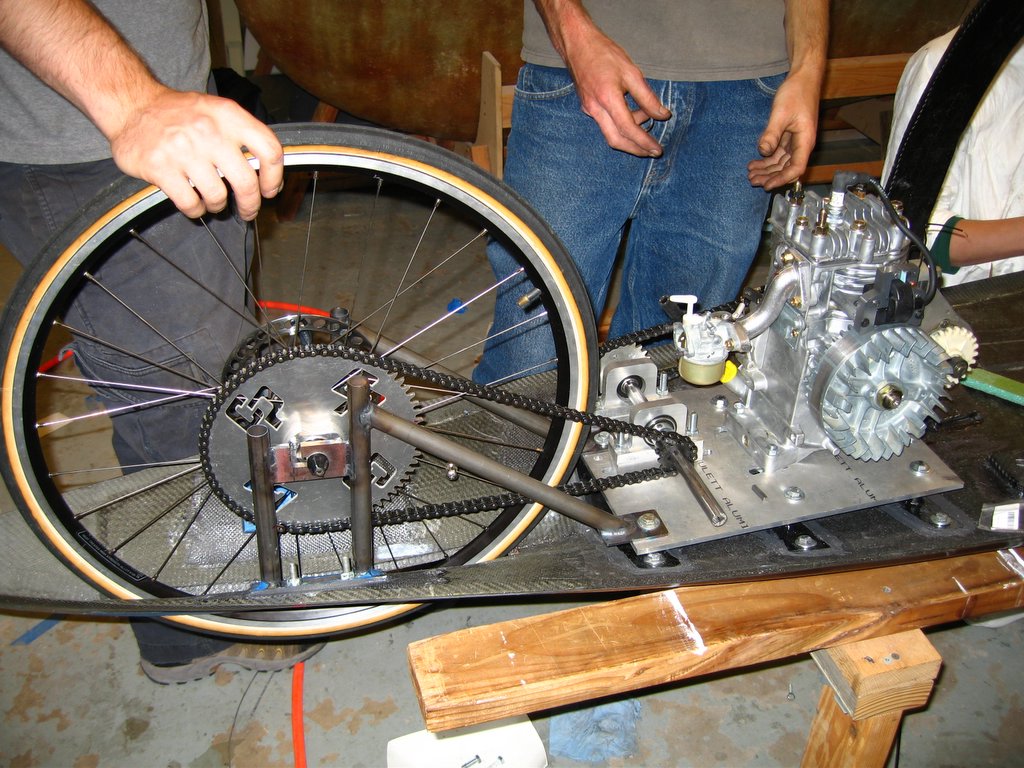
Making the Sprocket
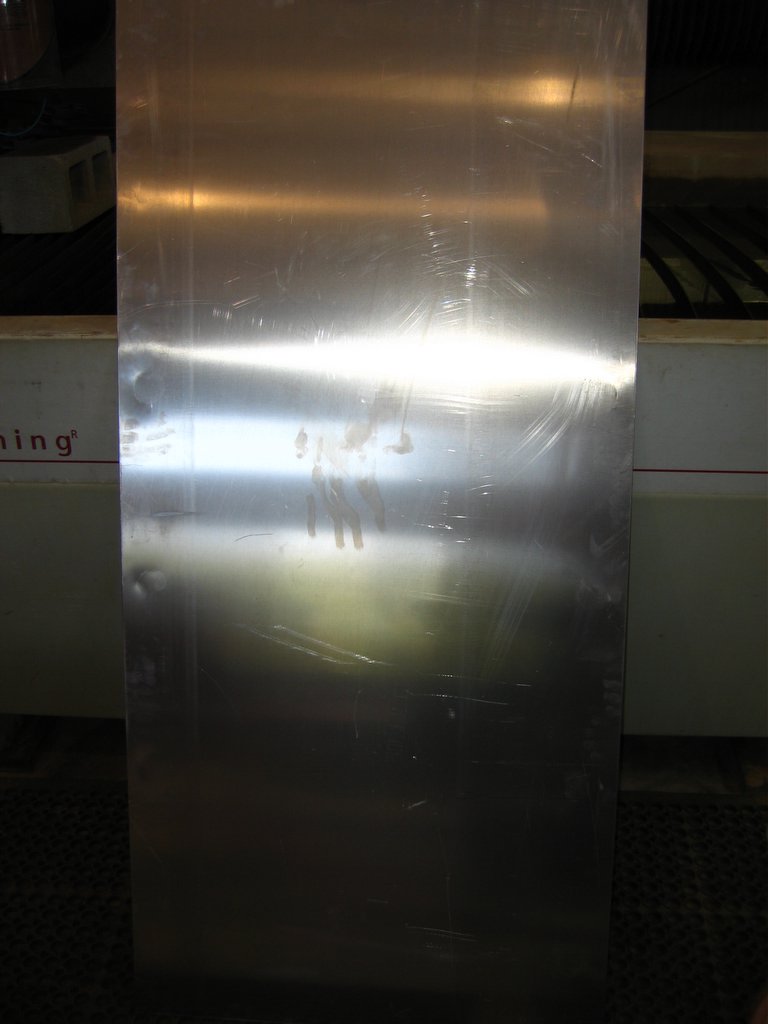
Ordinary piece of aluminum sheetmetal

Central Coast Creative Cutting letting us cut our sprocket on their water jet cutter

The machine cutting our sprocket and spacers


The finished product
Monday, May 01, 2006
Finished Products
 Weighing the parts
Top: 4 lbs w/o ribs
Bottom: 9 lbs
Projected Total weight excluding driver: 70 lbs
 Finished parts.
Next: Ribs in the top, start mounting stuff to bottom!
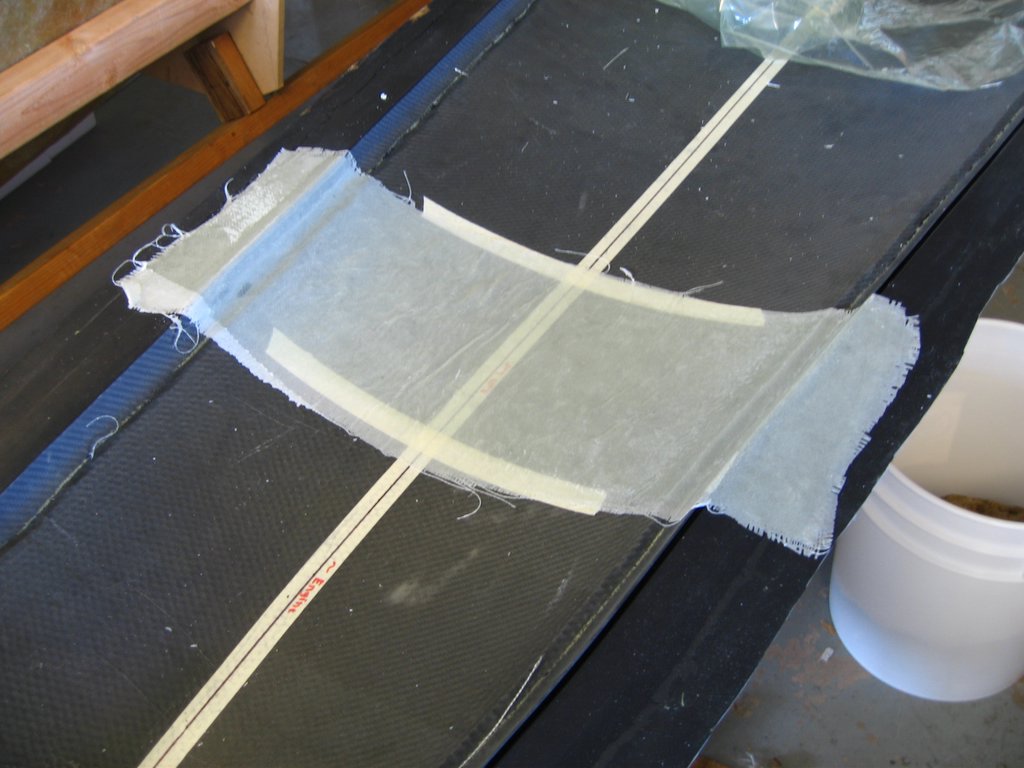
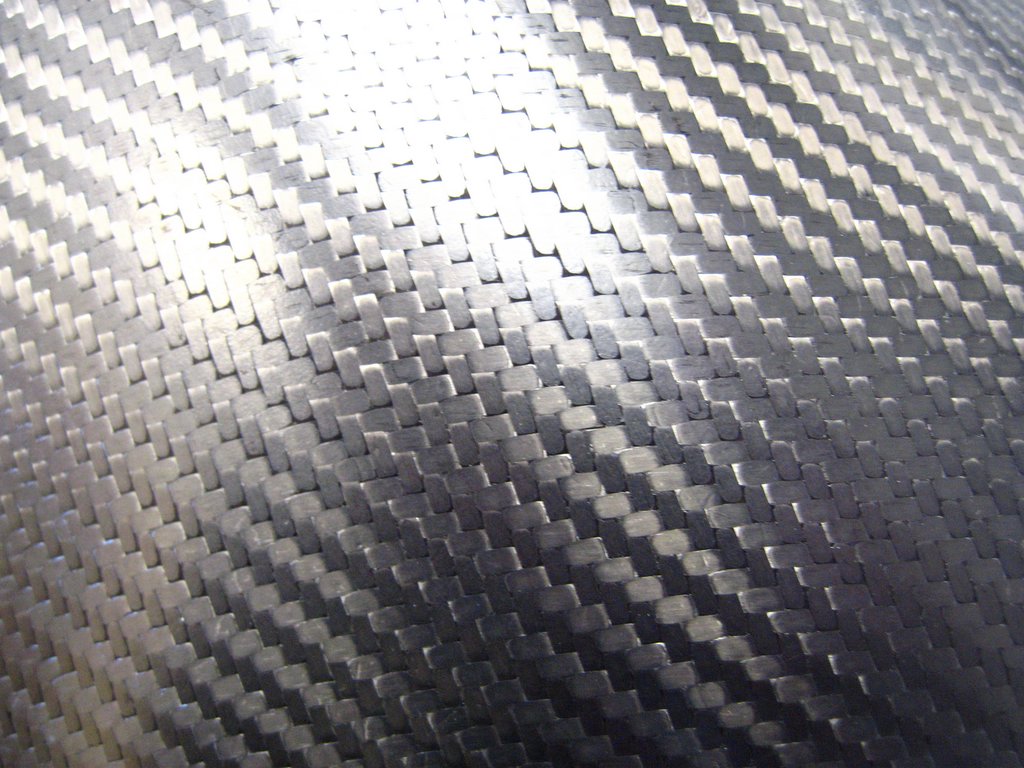 The Carbon Fiber
 Top w/ sacrificial windshield
Subscribe to:
Comments (Atom)
